

Hybrid flooring is a versatile choice that merges the robust characteristics of vinyl with the aesthetic appeal of laminate. Its design makes it waterproof, easy to maintain, and capable of withstanding heavy foot traffic, making it ideal for kitchens, bathrooms, and living spaces. Uncover the best info about hybrid flooring balwyn.
Composition and Structure
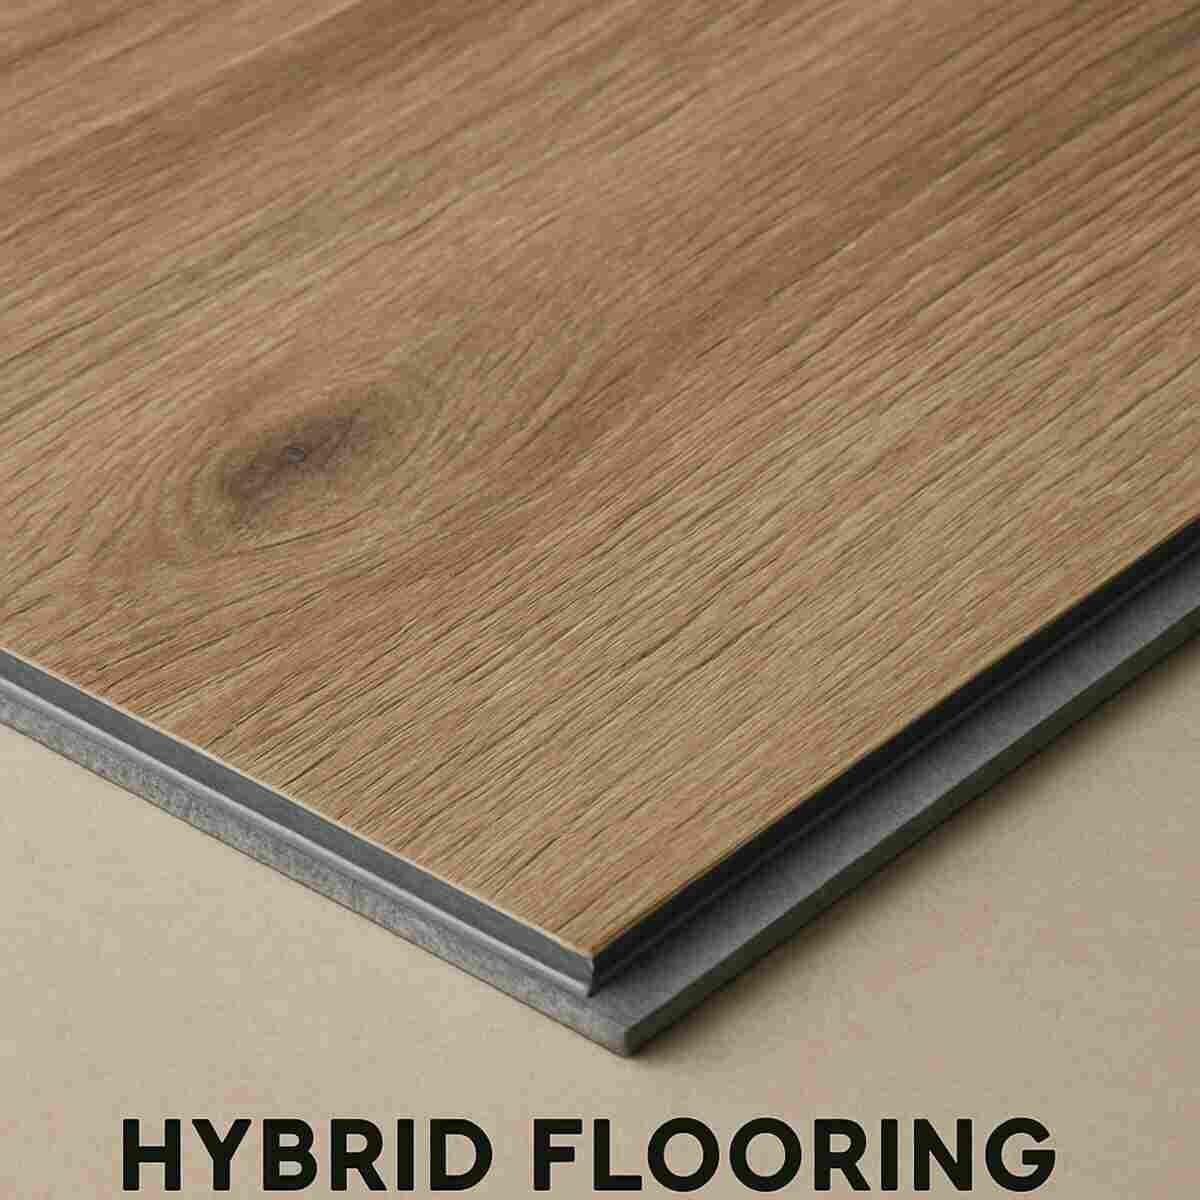
Hybrid flooring consists of multiple layers that contribute to its strength and appearance. The top layer is typically a UV-coated wear layer that protects against scratches and stains. Beneath this is a decorative layer that mimics natural wood or stone, offering a variety of design options. The core layer is rigid, providing stability and resistance to temperature fluctuations, while the base layer adds durability and noise reduction.
Advantages Over Other Flooring Types
Compared to traditional flooring options, hybrid flooring offers several distinct advantages. Its water-resistant nature makes it superior to hardwood in moisture-prone areas, while its durability outshines that of standard laminate. Moreover, hybrid flooring’s ease of installation and maintenance adds to its appeal, providing homeowners with a hassle-free flooring solution.
Environmental Impact
Hybrid flooring is also an environmentally conscious choice. Many brands use sustainable materials and eco-friendly manufacturing processes. The longevity and durability of hybrid flooring reduce the need for frequent replacements, thus minimizing waste. Additionally, some hybrid floors can be recycled at the end of their lifecycle, further enhancing their eco-friendly credentials.
Benefits of Hybrid Flooring
Hybrid flooring offers several benefits that make it an attractive choice for homeowners seeking both functionality and style.
Water Resistance
The water-resistant properties of hybrid flooring make it ideal for areas prone to moisture, such as bathrooms and kitchens. Its ability to withstand spills without warping or buckling ensures that it remains in good condition even in humid environments.
Durability
Hybrid flooring is engineered to resist scratches and dents, making it suitable for high-traffic areas. Its robust construction can handle the wear and tear of daily life, providing a long-lasting flooring solution.
Easy Maintenance
Maintaining hybrid flooring is straightforward, requiring only regular sweeping and occasional damp mopping. Its stain-resistant surface allows for quick clean-up of spills, making it a practical option for families with children or pets.
Aesthetic Variety
Available in numerous styles and colors, hybrid flooring can complement a wide range of interior designs. Whether you prefer the look of traditional hardwood or contemporary stone, there’s a hybrid floor to match your aesthetic preferences.
Tools and Materials Needed
Before starting your installation, it’s essential to gather all necessary tools and materials. Having everything prepared will streamline the process and help avoid delays.
Essential Tools
You’ll need several tools for a successful installation. A tape measure and pencil are necessary for accurate measurements and markings. A saw, either circular or jigsaw, will be required to cut the planks to size. A rubber mallet and tapping block will help fit the planks snugly together, while a pull bar is useful for tight spaces. Lastly, a level ensures your floor is even, and a vacuum or broom is essential for cleaning.
Choosing the Right Underlay
Depending on the manufacturer’s recommendations, you might need an underlay beneath your hybrid flooring. The right underlay provides additional cushioning and noise reduction, enhancing comfort and acoustics. Be sure to select an underlay compatible with your hybrid flooring and suitable for installation over tiles.
Additional Supplies
Apart from the tools, you’ll need hybrid flooring planks and spacers to maintain the necessary expansion gaps. If the flooring requires adhesive, ensure you have a suitable product. It’s also wise to have a utility knife on hand for trimming underlay and other materials.
Preparing the Subfloor

A well-prepared subfloor is crucial for a successful installation. Proper preparation ensures a smooth surface and prevents future issues.
Thorough Cleaning
Begin by thoroughly cleaning the existing tile floor. Use a vacuum or broom to remove all dirt, dust, and debris. Any residue left on the floor can affect the adhesive and the overall finish, potentially leading to imperfections in the installation.
Checking for Level
Using a level, check for any uneven areas on the tile floor. Uneven tiles can cause problems with the flooring installation, leading to gaps or misalignment. If you find significantly uneven tiles, consider using a levelling compound to smooth them out. This ensures a flat surface for the hybrid flooring, promoting a stable and aesthetically pleasing result.
Repairing Damage
Inspect the tiles for any damage such as cracks or chips. These imperfections can affect the hybrid flooring over time, so it’s important to repair them before installation. Use a tile repair kit to address any issues, ensuring a solid foundation for your new flooring.
Laying the Underlay
Depending on the manufacturer’s recommendations, you might need an underlay beneath the hybrid flooring. The underlay can provide additional cushioning and noise reduction.
Rolling Out the Underlay
Roll out the underlay across the tile floor, ensuring it covers the entire area. Trim the edges with a utility knife for a precise fit. The underlay should lie flat without any wrinkles or folds, which could affect the flooring above.
Securing the Underlay
Secure the underlay in place with tape, ensuring it doesn’t shift during the installation of the flooring. Properly fixed underlay provides a stable base, reducing the risk of movement or noise underfoot.
Evaluating Underlay Options
Different types of underlay can offer various benefits, such as enhanced moisture resistance or thermal insulation. Evaluate the options available and choose the underlay that best suits your needs and the specific requirements of your hybrid flooring.
Installing the Hybrid Flooring
Once the subfloor is prepared and the underlay is in place, you can begin installing the hybrid flooring.
Acclimating the Planks
Allow the hybrid flooring planks to acclimate to the room’s temperature and humidity for at least 48 hours before installation. This helps prevent expansion or contraction after installation, ensuring a stable and secure fit.
Planning the Layout
Plan the layout of your flooring, starting from one corner of the room. Use spacers to maintain a gap around the perimeter of the room for expansion. Carefully planning your layout will help avoid awkward cuts and ensure a professional finish.
Beginning the Installation
- First Row: Start with the first row of planks, aligning them parallel to the longest wall. Use a saw to trim the first plank if necessary, ensuring a snug fit. This first row sets the foundation for the rest of the installation, so take your time to get it right.
- Subsequent Rows: Use the tapping block and rubber mallet to fit the planks together snugly. Stagger the seams by starting each new row with a cut piece from the previous row. This staggered pattern enhances the floor’s stability and visual appeal.
Cutting Planks as Needed
Measure and cut the planks as you reach the edges of the room. Precision is key when making these cuts to ensure the flooring fits well and looks seamless. Take your time to measure carefully and double-check your cuts before proceeding.
Finishing Touches
Once all the planks are laid, remove the spacers and install the baseboards or moldings to cover the expansion gaps. These finishing touches enhance the floor’s appearance and protect the edges from damage.
Post-Installation Care
After the installation, there are a few steps to ensure the longevity and appearance of your new hybrid flooring:
Initial Cleaning
Sweep or vacuum the floor to remove any dust and debris from the installation process. A clean floor not only looks better but also prevents particles from scratching the surface.
Allowing the Floor to Settle
Allow the floor to settle for a few days before exposing it to heavy foot traffic or placing heavy furniture on it. This settling period helps the floor adjust to its new environment, reducing the risk of movement or damage.
Regular Maintenance Routine
Maintain your hybrid flooring by regularly sweeping and using a damp mop for deeper cleaning. Avoid using harsh chemicals or abrasive cleaning tools, as these can damage the surface. A well-maintained floor will retain its beauty and functionality for years to come.
Conclusion
Installing hybrid flooring over tiles is a manageable DIY project that can transform your home’s look and feel. By following this guide and taking the time to prepare and install the flooring correctly, you can enjoy the benefits of beautiful and durable floors for years to come. Happy installing!